Lego Map: Travelling Japan

Lego Travel Map

Konnichiwa! November 1st 2015 is the date I kissed my fiancée goodbye and flew across the world to the coastal city of Kobe, Japan for a six month work assignment. It was here I built all the flowers for our Lego themed wedding, but also where I took the opportunity to explore, learn and embrace the culture of Japan.

I travelled the country end to end, experiencing something new every weekend. Travelling by plane, shinkansen, intercity train and on foot, I explored many of Japan’s ancient shrines, temples and castles. I gained a taste for okonomiyaki, sushi and rahman, whilst drinking my way through a lot of sake, whiskey and 80+ different Japanese beers! I fed monkeys in Arashiyama, met the deer of Nara and visited a cat cafe in Tokyo. I also completed some of Japan’s more unusual experiences by visiting Tokyo’s robot restaurant, played pachinko and climbed a mountain to relax naked within an onsen. I achieved a lot in 6 months, yet only managed to learn 14 words!

Lego Japan & Korea

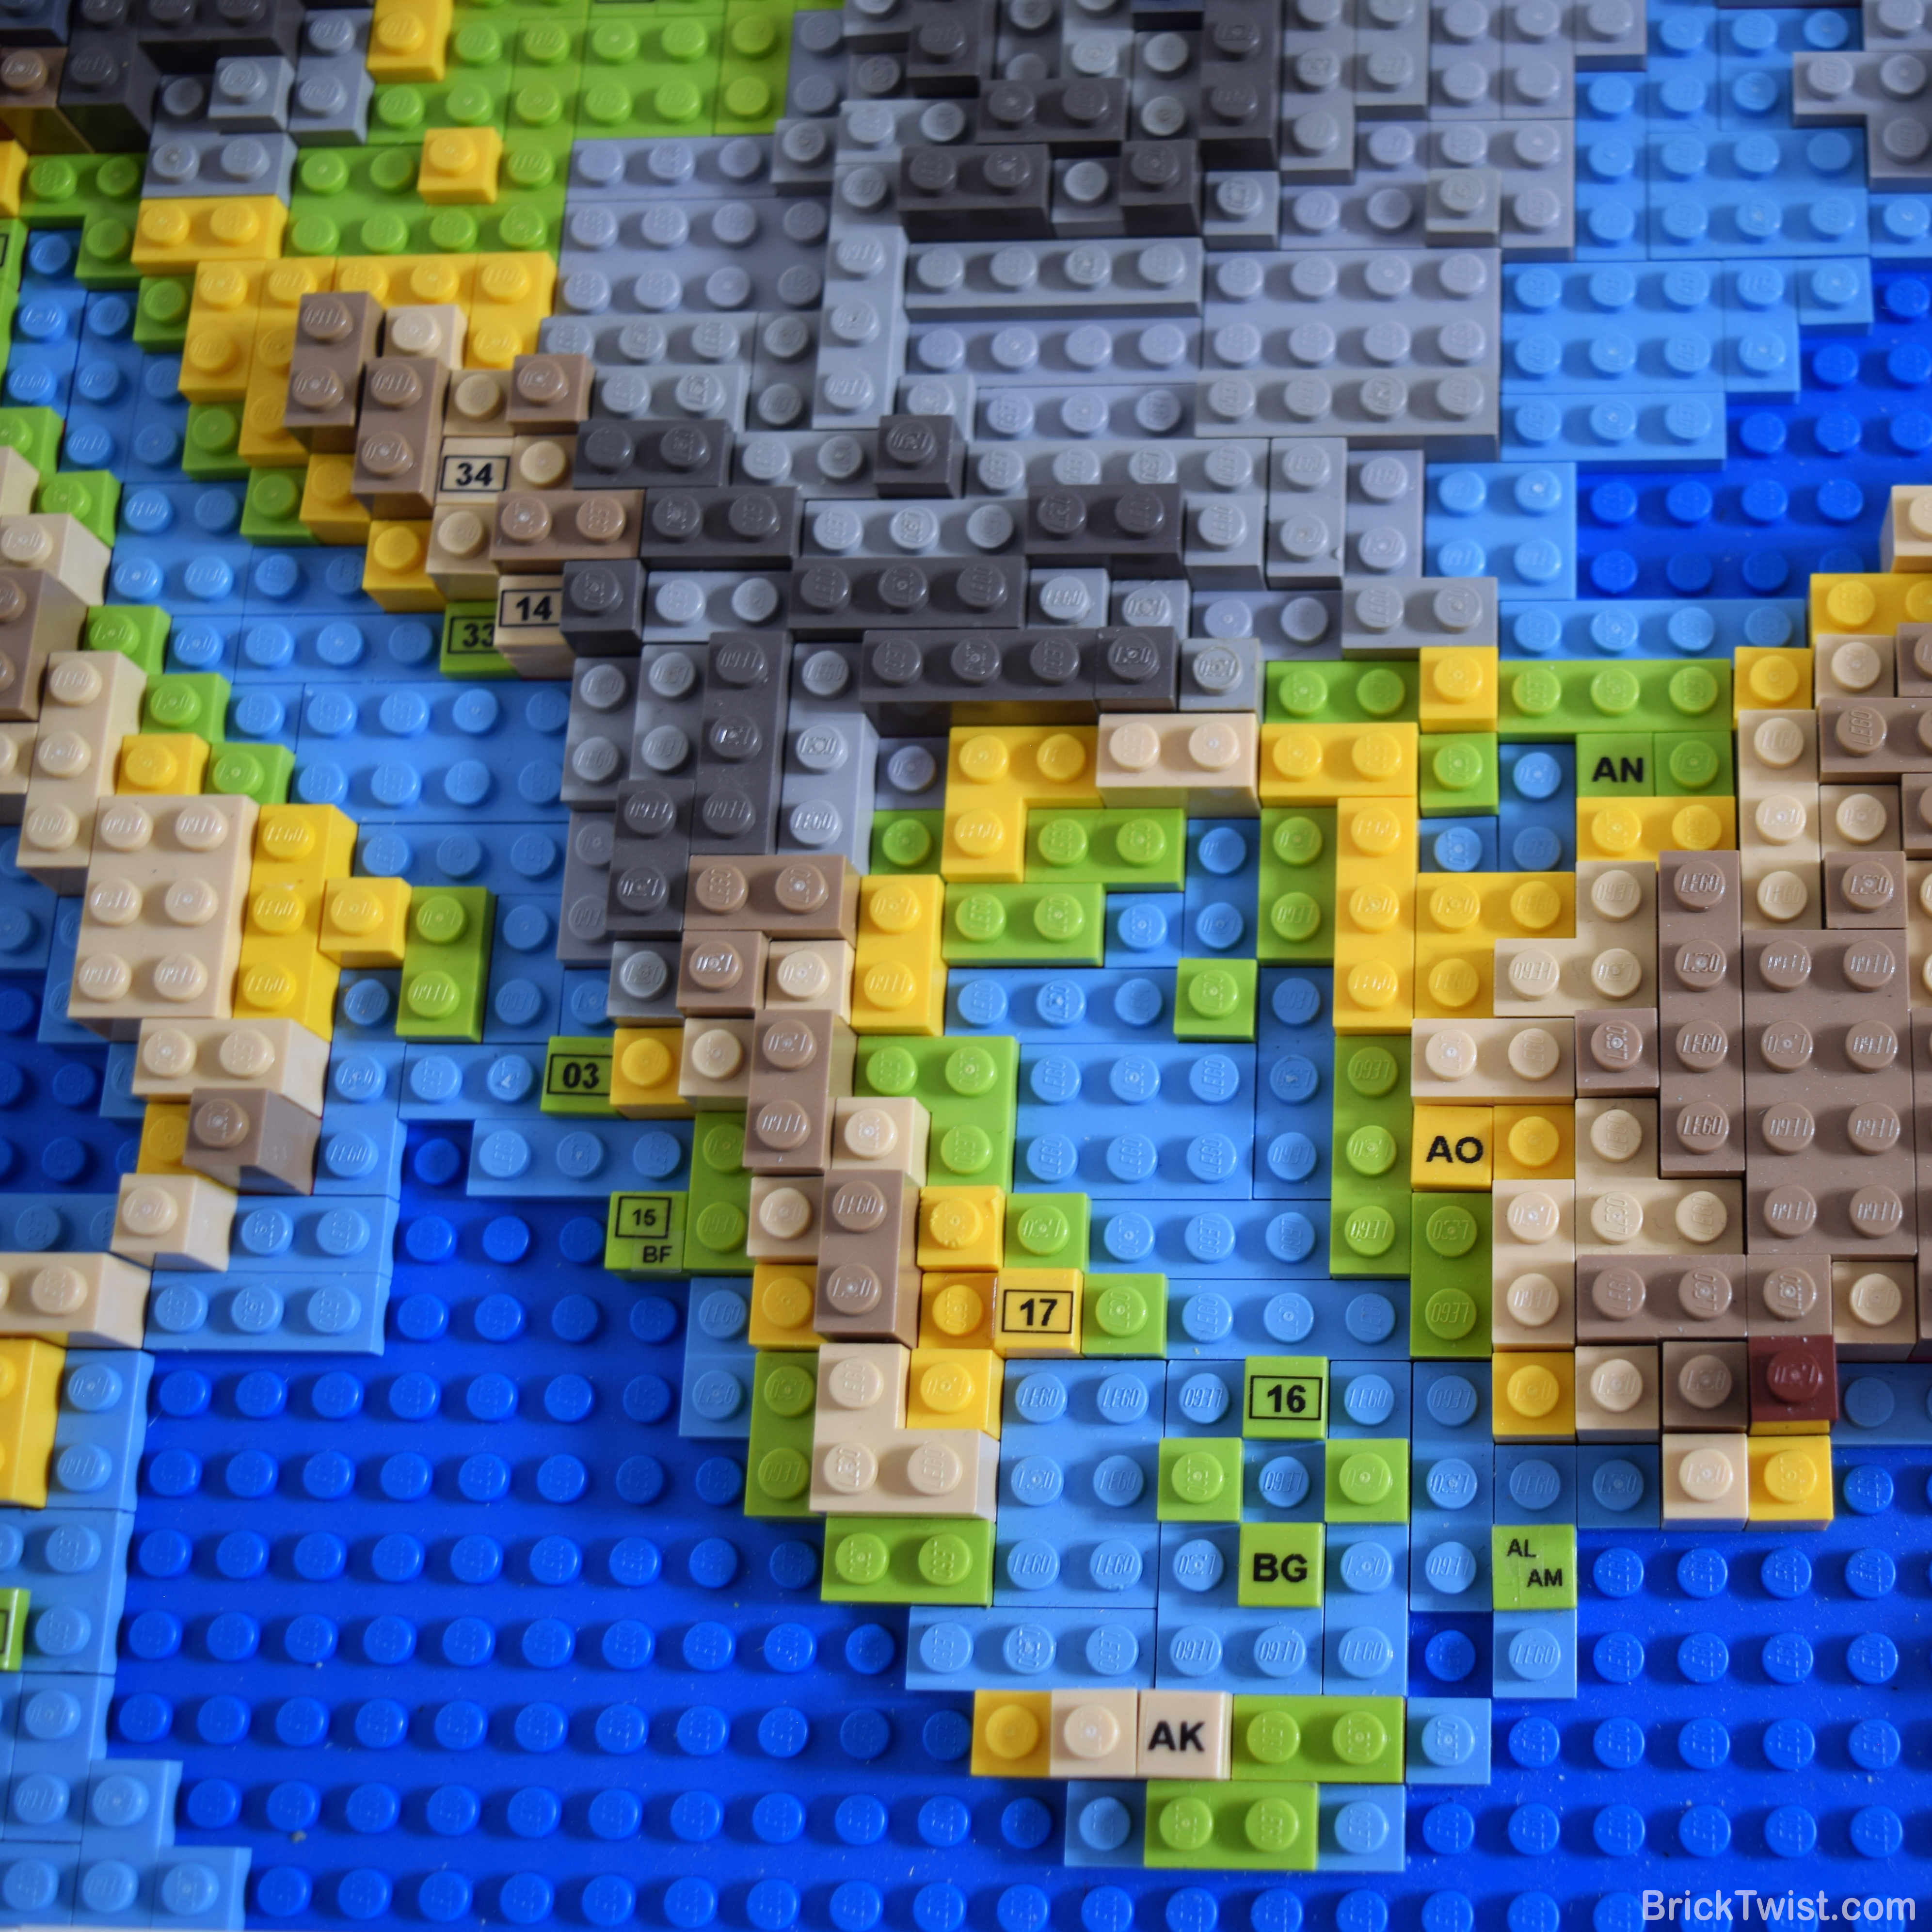
Documenting my travels over those was realised through the creation of my custom designed and built Travel Map of Japan! Built four years after my adventure, the Lego map of Japan is the sequel to my European Lego map. It leverages the same terrain heights and colours as the European version, but is smaller at 48 by 48 studs and consists of roughly 1500 Lego bricks.

I visited 11 cities/ towns whilst living in Japan. Each city/ town is highlighted on the map by a number, which has an associated label around the maps frame.

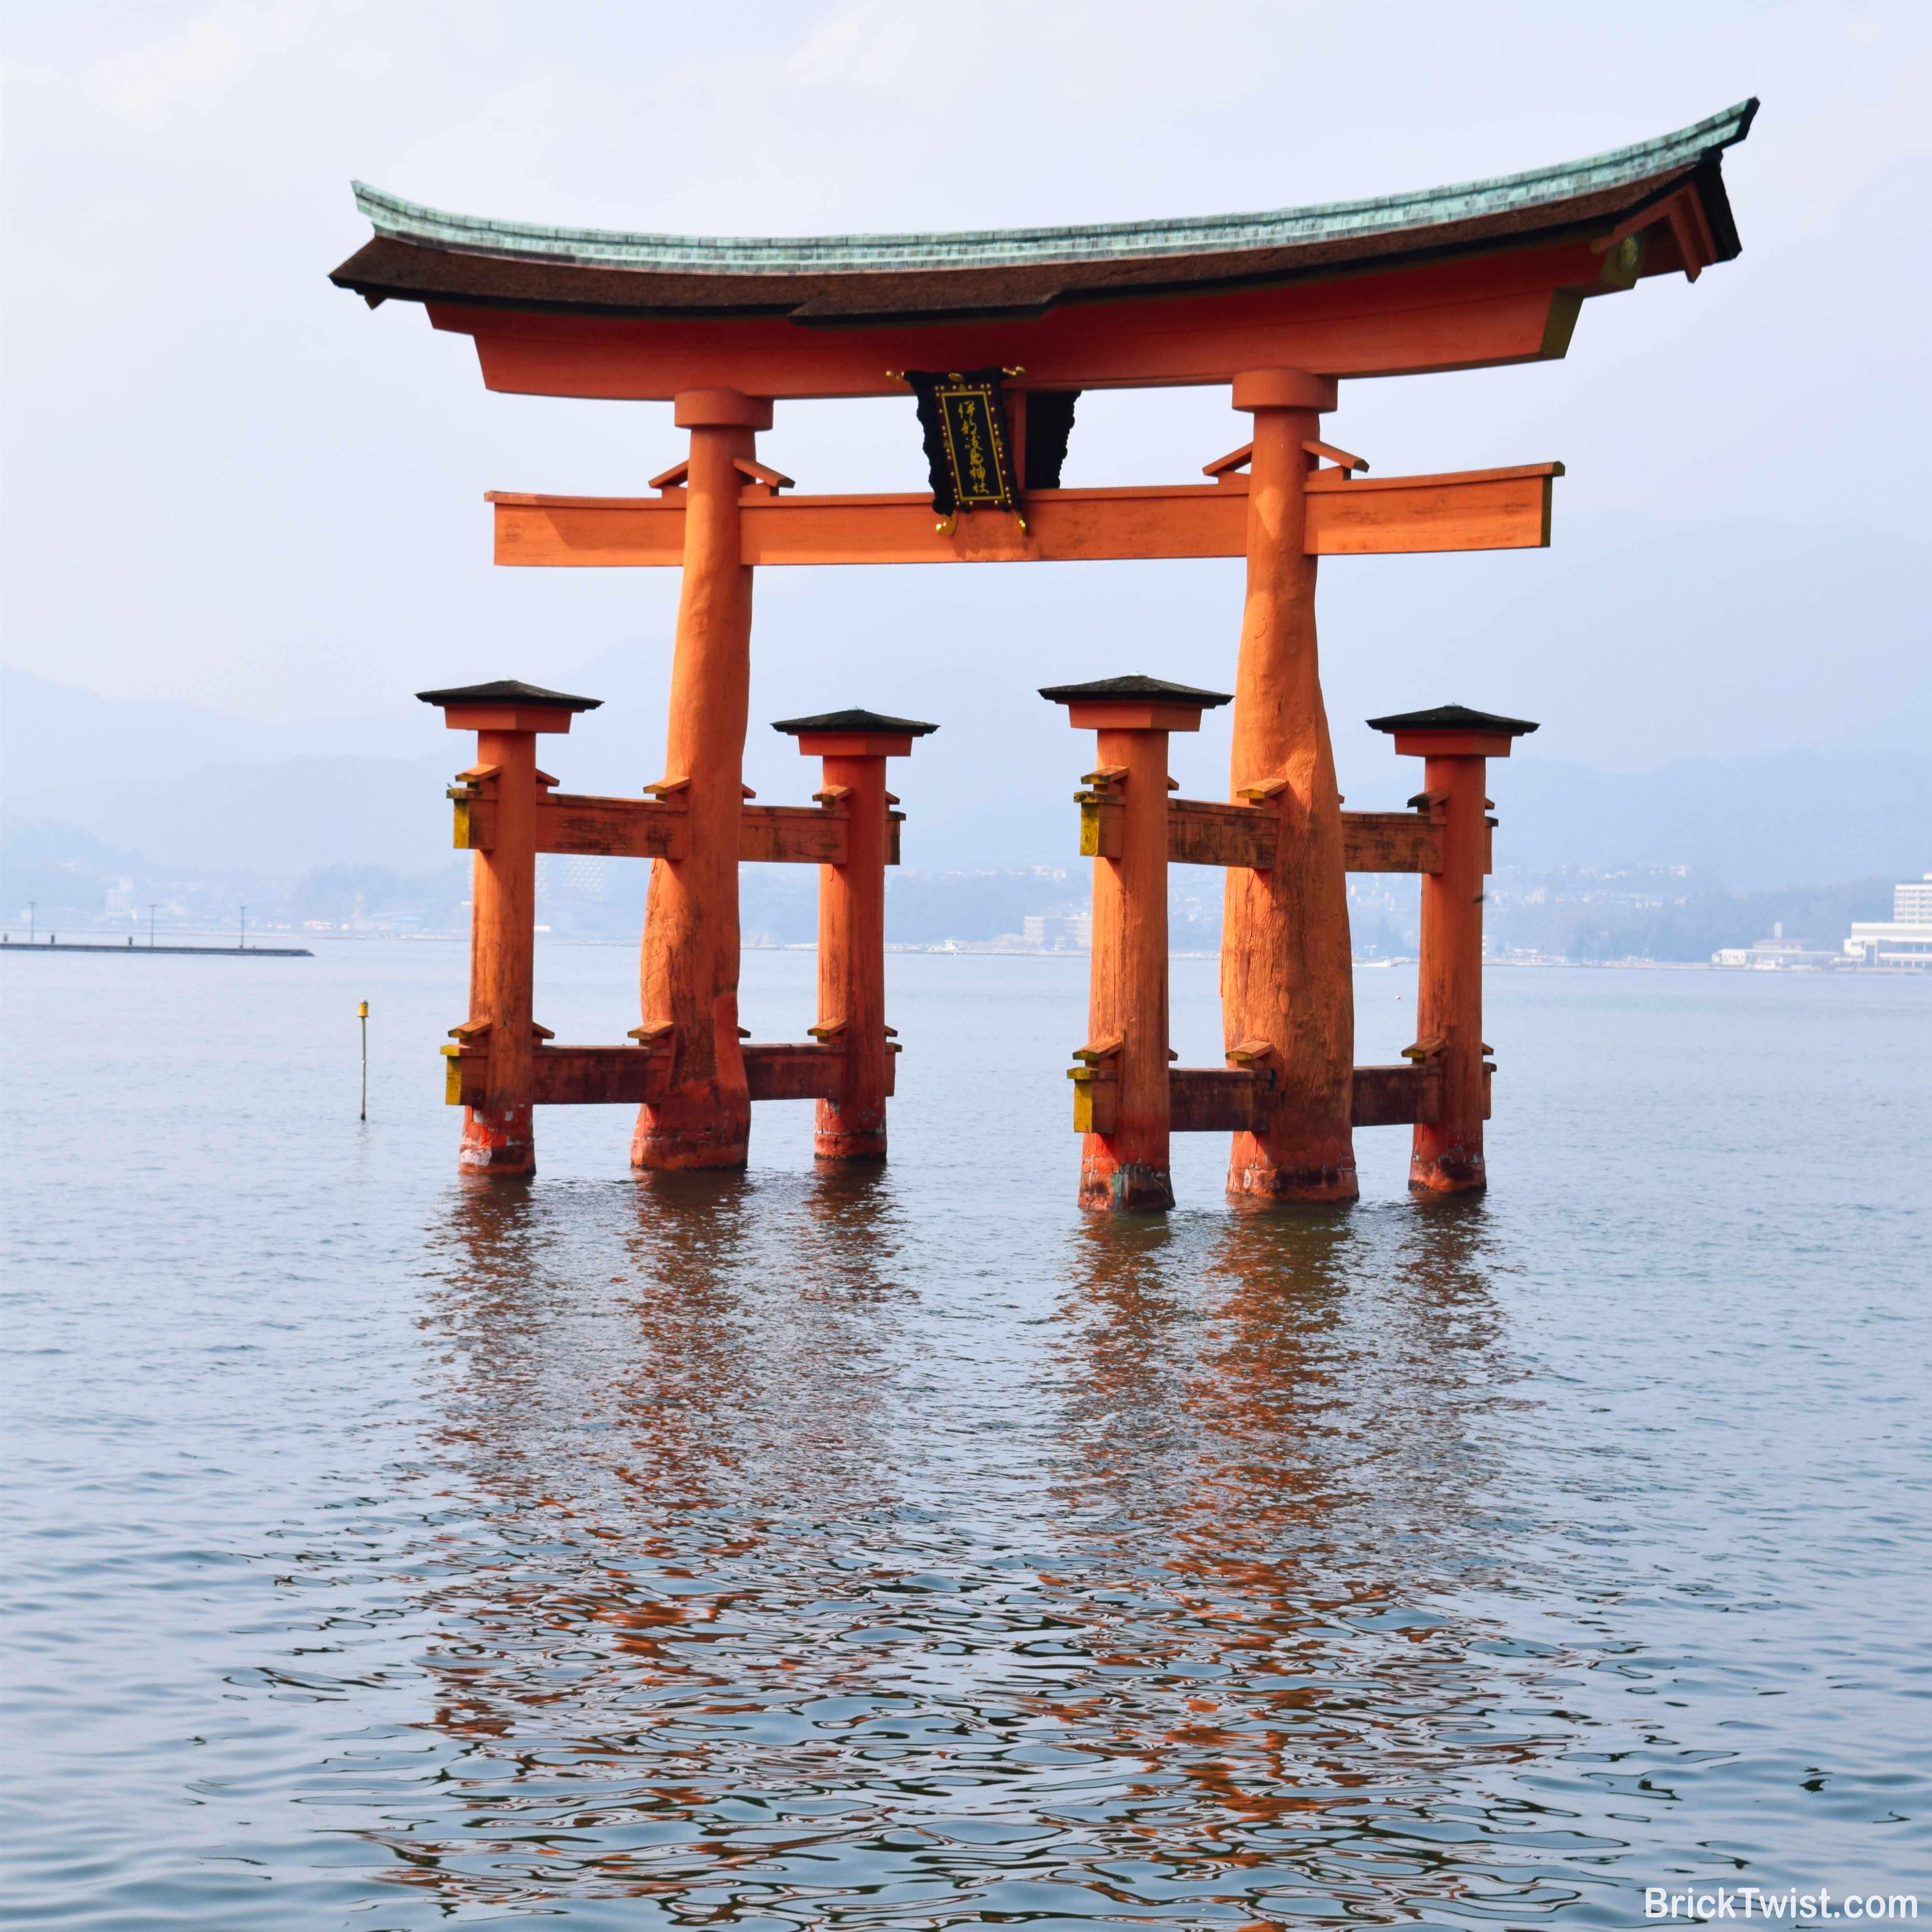
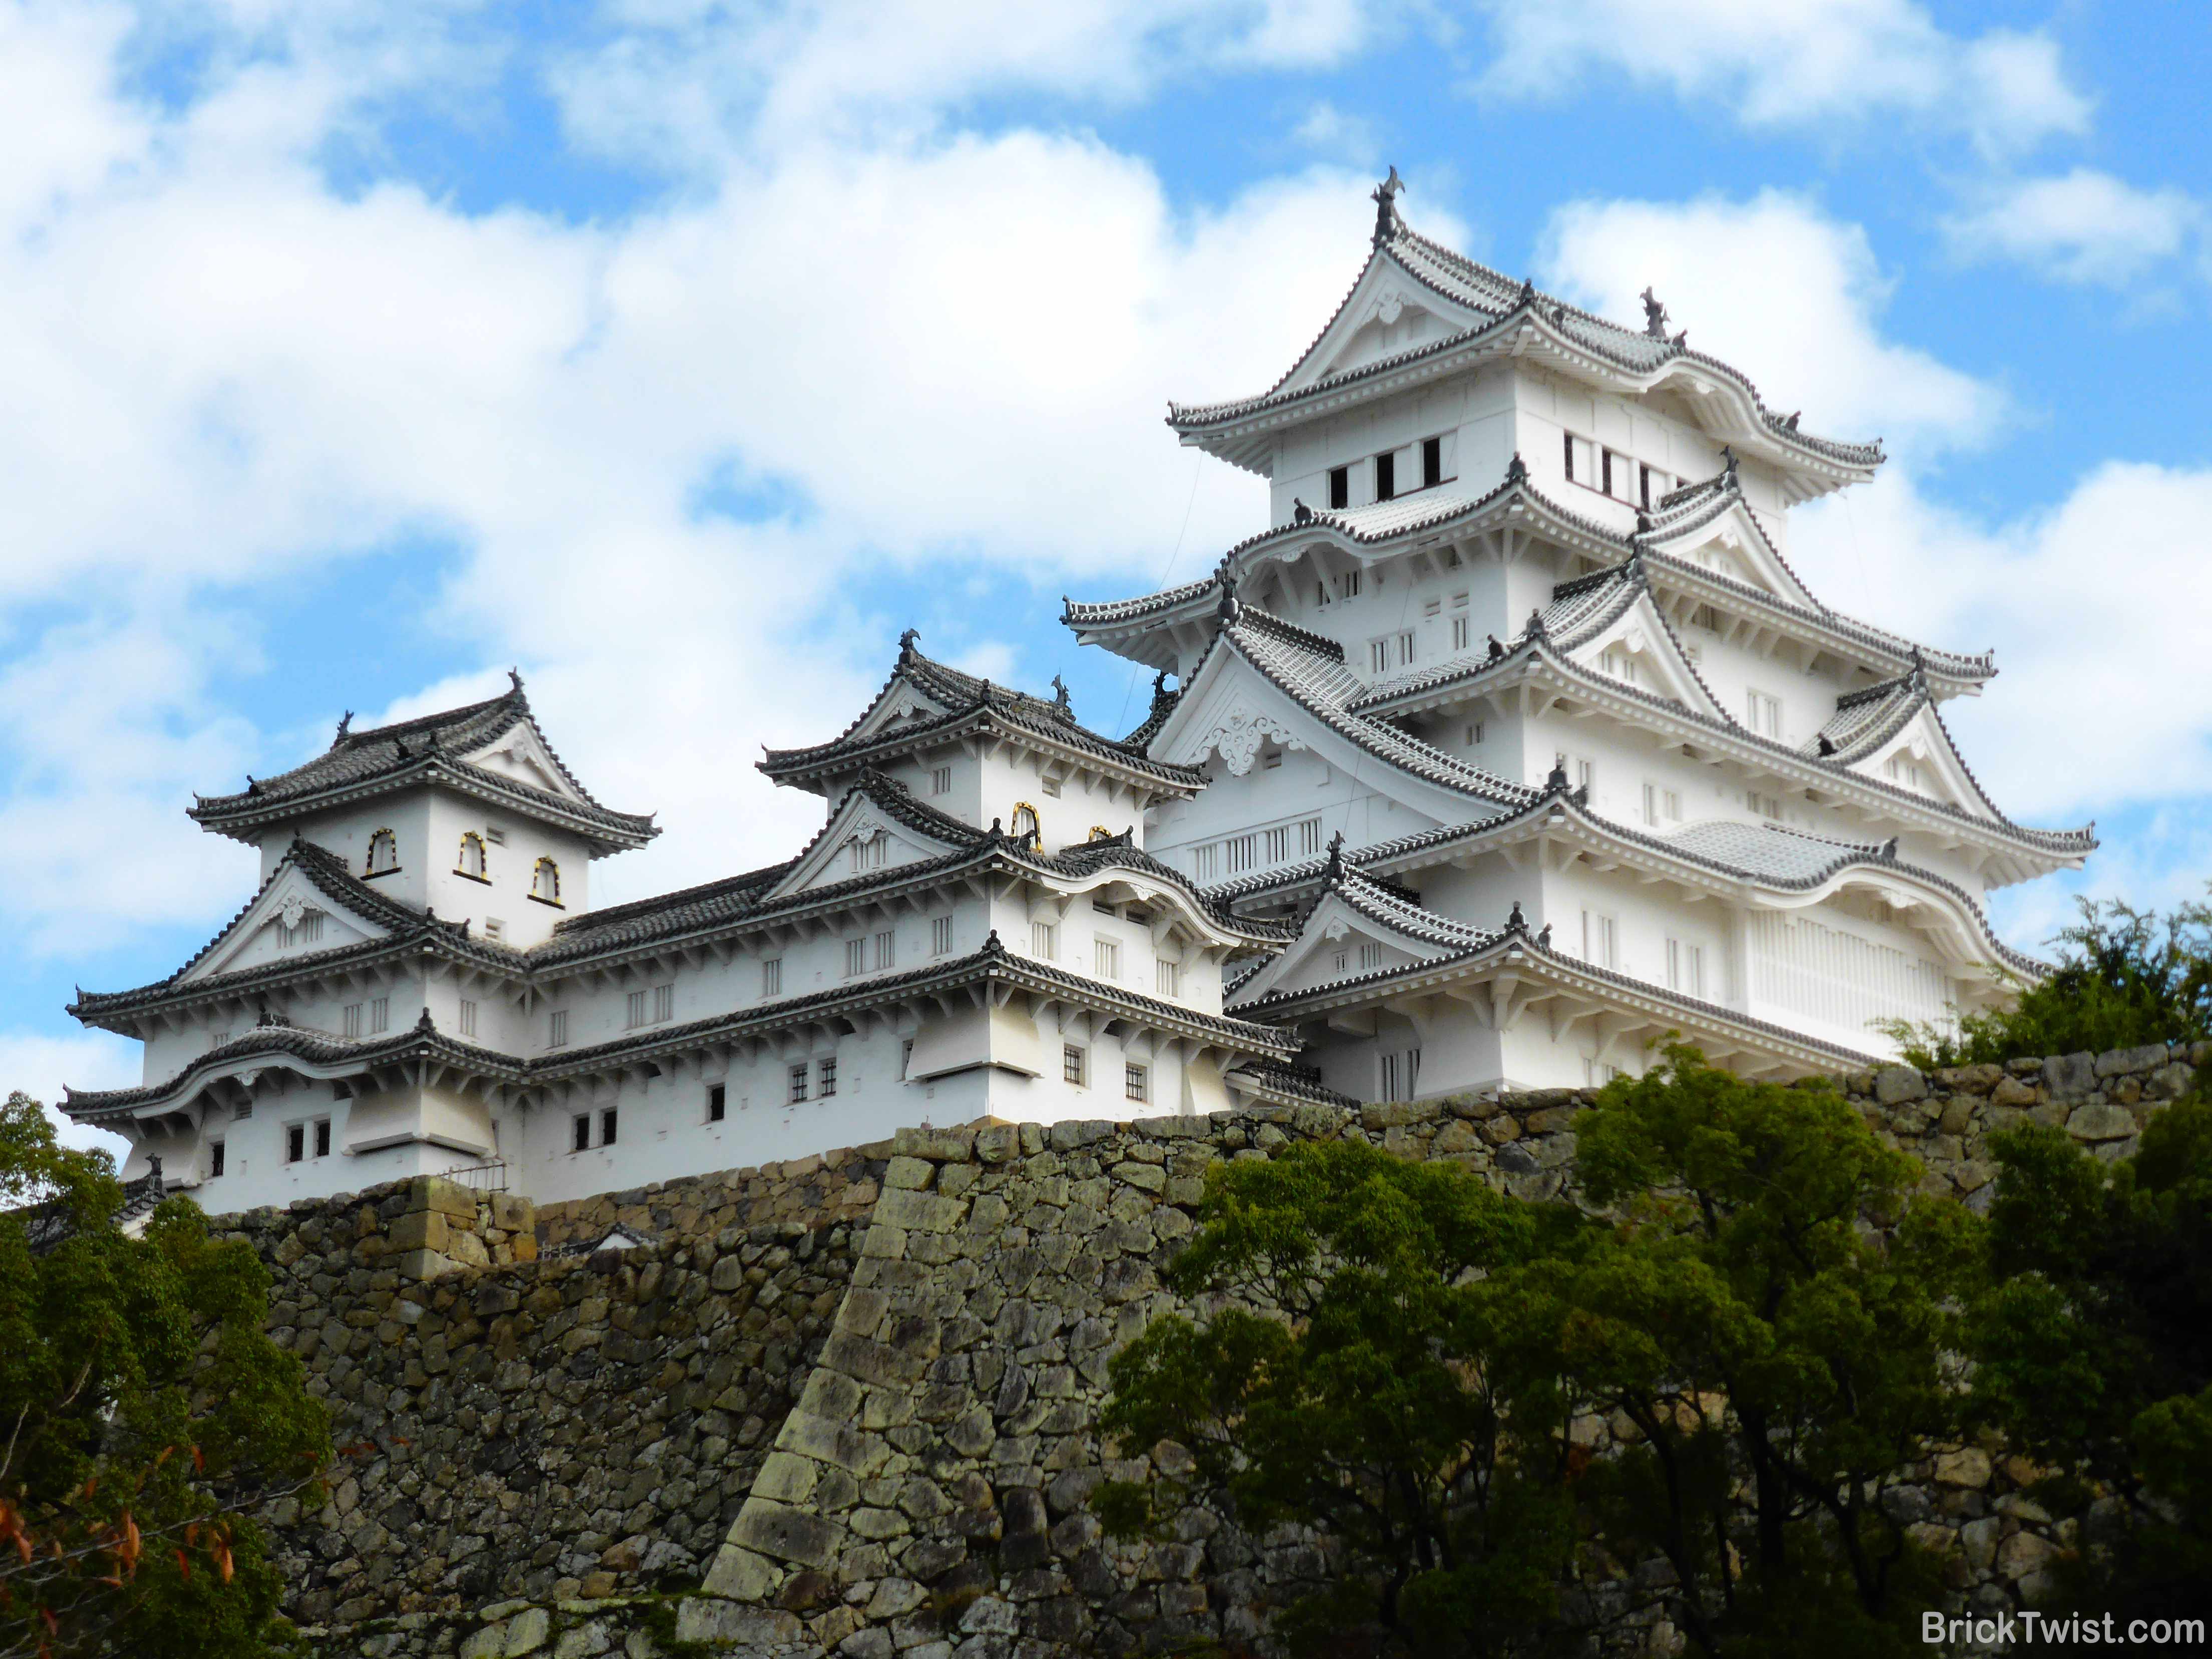
I visited each of Japan’s three largest islands. Honshu is the largest island, and where my new home city of Kobe (19) was situated. The cities of Kyoto (22), Osaka (21), Nara (30), Himiji (20), Okayama (27) and Hiroshima (28) were all close by so spent a lot of my weekends exploring, eating and drinking here! Tokyo (23) was accessible via a three hour Shinkansen (bullet train) to the east of island, where I visited the famous Shibuya Crossing, Skytree Tower and the technology district of Akihabara. I also spent time in the small north coastal town of Kasumi (31) where I ate a ton of crab!

Japan’s northern island of Hokkaido, is home to the city of Sapporo (24). The cities annual Snow Festival was on during my visit, so saw hundreds of snow and ice sculptures and snow sport events. My last trip was to the south island of Kyushu, where I visited the city of Kumamoto (29) just before the 2016 earthquake shuck the city.

Whilst living in Kobe I also visited South Korea and China as they were just a short flight across the sea. I visited South Korea’s capital Seoul (25) over a weekend, visiting a war museum, eating a Korean BBQ and exploring the local markets.

A small bit of China is visible but given the huge size of the country, I will look to build a separate dedicated map in the future.

Hope you enjoyed by Lego travel map of Japan and Korea. Sayōnara!

Lego Map Europe Feature Image

Lego Map: Exploring Europe Brick by Brick

Lego Travel Map

I have been lucky enough to have travelled around the world on business and for pleasure. I have photos, magnets and a world travel map of the places I have visited around the house. The travel map above our bed was great until it fell off the wall onto my wife’s head whilst we slept one night! Faded, crumpled and now on the floor, I decided to build a new travel map out of Lego!

Introducing my Lego Map of Europe! The map uses coloured Lego bricks to highlight the countries my wife and I have visited. I used grey bricks to illustrate the countries we were yet to explore. A key documents terrain elevation in metres and feet, from the sea floor to the tallest mountain. The map measures at 65 x 65 cm (82 x 82 studs) and it’s tallest point (the Alps) is 2.4 cm tall. It’s my biggest build since my Lego wedding, at an estimated total of 5000 Lego bricks used!

Making the map personal and unique to my wife and I was important, so wanted to go a step further. When we visit a new city or town, I include a two letter/ numerical code (e.g. 00/ XX) to it’s location on the map. The code then links to a flag, country and city/ town name on the maps frame. The codes are categorised to a visit by me (Mark), my wife (Lynn) or both of us as illustrated by the image below.

Whilst travelling is fun, home is also important. I used a flag symbol to highlight our home in the UK. I also decided not to document every city we have visited in the UK, otherwise this build would never have finished 🙂

As the top of the African continent was going to be visible, Morocco and Tunisia were also included. l will be adding additional countries from outside of Europe in the coming months. Europe is the first part of my large Lego map puzzle! More details on that at the end of this post.

Visiting a Country with Lego Bricks

Why scratch off a country when visited (like most travel maps), when you can build the country out of Lego instead!

Animation of the removal of grey bricks and adding coloured bricks when visiting a country.

Illustrated by the small video above, updating the map with a new country requires the completion of simple four steps:

  1. Remove Grey Bricks: remove all the grey bricks for new country
  2. Add Colour Bricks: add coloured bricks to match the elevation of the country
  3. Add Code Tile: add a 1 x 1 tile with printed code for visited city/ town in the correct location on the map.
  4. Update Frame: update the frame with the country name, flag and city/ town name with it’s associated code

Designing & Building Lego Europe

Building a map of Europe out of Lego took a lot longer than I had initially expected. After a lot of evenings, weekends and many orders from bricklink.com, I hung my completed map on the wall of my office. I have summarised the steps I took to designing and building my map below:

1. Digital Relief Map:Using a relief map I purchased from Shutterstock, I imported it within Inkscape (a vector image editor) and resized it. I then applied an 82 x 82 grid over map, where one square would equal a 1 x 1 Lego brick.

2. Pixelating the Digital Map: Using the Lego colour palette (https://brickset.com/colours) I painted each square with my chosen colours matching the relief of the map. I then exported the map to my iPad and marked up the different types of bricks I would need for the build.

3. Building the Lego Map: Once the map was pixelated into Lego form, I got down to building! I created the foundations of Europe with a lot of left over red plates from my Lego wedding build. Coloured and grey plates/ bricks were then added on top, as instructed by my pixelated map. Many BrickLink (https://bricklink.com) orders later, and my Lego map of Europe started to take shape!

4. Country, City/ Town and Elevation Key: Initially I was going to build my own flags out of Lego, but found I couldn’t get enough detail at the size I wanted them. Luckily I found this great sticker book: Flags of the World: Ultimate Sticker Book. The flag stickers were the perfect size for a 2 x 3 white tiles which made up the frame which I built to surround the map. A Dymo label maker was used to create the labels for the country, city/ town names which I attached to tiles on the map, frame or key.

5. Wooden Frame & Hanging: Using gorilla glue, I glued the map securely to a 5mm plywood board and attached wall fittings to the back. A few nails in the wall and my European Lego travel map build was complete!

Building the Rest of the World in Lego…

Originally the lego map included a dedicated section on the left for all the other countries my wife and I had visited outside of Europe. After three different iterations, I concluded that this section just didn’t look right so decided to remove it.

Instead I will be building new dedicated maps for: North America, Japan/ South Korea, China and a few other countries… These will be added to the wall of my office in the coming weeks and months!

I hope you like my European Lego Map. Let me know your thoughts, comments and questions. Mark!

Lego DNA double helix on its side

Lego DNA Double Helix

Human Body

Let’s break down the human genome as the worlds largest and most complicated Lego set….

The Human Genome consists of an estimated 20,000 genes (small Lego models).  Your genes form one of 23 pairs of chromosomes (large Lego models).  DNA (deoxyribonucleic acid) consists of a set of instructions to building a gene (your Lego instruction booklet), using 4 nitrogenous bases adenine, thyminecytosine, and guanine (Lego bricks), wrapped up in a double helix of phosphate (more Lego bricks).

How many bricks would I therefore need?  It is estimated that the human genome has over 3.2 billion base pairs and thus, including the parts for double helix phosphate, you would need at least 10 billion Lego bricks in order to replicate build the human genome…

It’s clear I won’t be constructing the human genome out of Lego any time soon! However I was able to design and build a small portion of a DNA double helix…

Lego DNA Double Helix

DNA Key

Green = Adenine (A)    Red = Thymine (T)

Blue = Cytosine (C)     Yellow = Guanine (G)

White = Sugar Phosphate

The DNA Double Helix was one of my easier builds to date.  Stood upon a tiled base plate, I repeated a pattern of 1 x 2 bricks, 1 x 1 cylinders and 1 x 2 bricks and gently twisted them to form the helix.  I then connected 10 1 x 1 cylinder bricks together to form a base pair, connecting them with a pin.  The only complexity was the fragility of the design, requiring some additional struts which were added whilst building the model.

Hope you enjoy my Lego DNA Double Helix… and don’t find too many flaws in my quick maths (I am sure some smart ass will!).  Whilst I am not a biologist, I do work within the healthcare industry as an IT professional so I do have an interest in science and the human body. I might look to make a series of health/ human body inspired models if I am able to find the time.  Have a good idea – let me know!

Merry Christmas and Happy New Year to all,

Mark

Lego Rose feature image

How to Build a Lego Rose

Instructions, Lego Wedding

One year after the Lego themed wedding…. life feels the same, but with a lot less Lego! I kept a single Lego Vase which now sits in our hallway, and a number of friends still have their Lego Roses in their living rooms/ bedrooms.  The rest reside broken into bricks within large crates in our spare room upstairs – one day I will find them useful for a new project!

Lego Rose Instructions

It’s been a long time since I revisited my blog, so a few weeks ago I decided to log in and see if there was an activity.  To my surprise I found a number of comments and emails from around the world, requesting instructions for my Lego Rose!  You can now build your own Lego Rose by following the below instructions. Image and YouTube video available:

Design Tweaks

The Lego Rose was never designed to be rebuilt by others, so I have made two small tweaks for stability and added realism.

Improved Leaves:  I used a single piece leaf part for my original Lego Rose design (part 2417).  This was primarily to help separate the roses from each other when arranged together in my vases.  However they never looked authentic though, so the instructions include a new leaf design for added realism.

Glue: No glue was used for any of my Lego Roses and Vases at the wedding.   The design worked well…. until many of my drunken guests grabbed a rose by the stem, resulting in a smashed rose on the floor!  If you build the Lego Rose and intend to give it to someone else as a gift, I recommend you super glue the plastic pipe to a Technic Bush clip inside the base of the rose.

Which Lego Bricks?

You can find all the parts you need within the footer of the instructions.  To make life even easier I have also listed the part numbers below.  I source all my bricks as new or second hand on bricklink.com.

Rose Head

IDNameColourQuantity
3023Plate 1 x 2Red4
3710Plate 1 x 4Red6
3021Plate 2 x 3Red4
3020Plate 2 x 4Red12
3709bPlate 2 x 4 with 3 HolesRed1
41769Wedge, Plate 4 x 2 RightRed8
41770Wedge, Plate 4 x 2 LeftRed4
4733Brick 1 x 1Black4
3001Brick 2 x 4Red2
3003Brick 2 x 2Red1
3622Brick 1 x 3Red4
61678Slope, Curved 4 x 1Red4
54200Slope 30 1 x 1 x 2/3Red12

Rose Stem

IDNameColourQuantity
3062bBrick, Round 1 x 1 Open StudGreen15+
3941Brick, Round 2 x 2 with Axle HoleGreen1
3709bPlate 2 x 4 with 3 HolesGreen2
4032Plate, Round 2 x 2 with Axle HoleGreen18
3713Technic BushGrey1
NA* Plastic Beam – 18 cm +Any1
NASuper GlueAny1

Tamiya 3mm Plastic Beams

I struggled to find enough plastic beams on bricklink.com for the size and amount I required for the wedding.  If you have the same problem, I found an alternative at a crafts store when I lived in Japan – Tamiya Plastic Beams 3mm Round.   You can also get this online from various online craft stores.  The Tamiya beams fit the Lego Rose stem well, but don’t expect the Technic bush to clip on.  If you want to hold the Lego Rose by the stem, glue the Technic bush to the end of the plastic beam inside the rose as illustrated by the instructions.

Go Build a Lego Rose!

Now it’s up to you.  I have created the instructions and listed the parts.  Let me know how you get on, share a picture and let me know if you have any questions.  Have a read of my other posts like Perfecting the Lego Rose for the Wedding for more details.
 

Lego wedding table plan setup with four Lego vases with 17 Lego Roses & Thistles each. Taken at Wedding Venue

Lego Wedding: The Big Day

Lego Wedding

One year of building 4 vases, 68 roses, 16 thistles, 42 personalised minifigure guests, 1 table plan, 13 large letters and 8 boxes of Lego, the mega Lego Wedding build was complete!

I will keep this post short and to the point, as the images speak to themselves.  The Lego Rose & Thistle Vases were setup per table, with their personalised favours.  I also added some last minute Lego letters for the top table spelling out our new name – Mr & Mrs Johnson.  Wooden letter boxes full of Lego bricks were also provided for our guests…. even if it did mean I ended up with a variety of Lego cocks by the end of the evening!

Our Lego Wedding Cake finished everything off nicely, courtesy of Cake & Lace from Newbury.  The three layered cake had two personalised and edible Lego version of myself and my wife.  Each layer had sections peeled back revealing a Lego brick interior.  It was perfect and tasted great to!

Time to finally close this chapter and plan my next Lego build.

Photography Credit:  Adam Hillier Photography

Mark!

Lego Wedding Party Minifigures

Lego Wedding Minifigure Personalisation

Lego Wedding

A Lego themed wedding wouldn’t be complete without personalised mini-figure guests!

Every guest who attended the wedding got a personalised Lego version of themselves to take home.  Unfortunately I was unable to construct everyone as a Lego Star Wars character (courtesy of my childhood), so logged into BrickLink.com and ordered a set of heads, hair, torsos and legs.  Using everyone’s Facebook profile photos online, I built the whole wedding party (44 day guests) in a few days.

In addition to this each guest received 4 bags of Lego chocolate which we found on Amazon sold by Gwynedd Building Blocks.  We ordered a small taster kit initially and then a 2 kilogram box!  We would both highly recommend them to anyone else.  Yum!

Lego Wedding Table Plan

Once my army of Lego minifigure wedding guests was complete, I started to build the table plan.  At first I expected this to take a few hours, but this escalated quickly into a few evenings after work and a whole weekend!

I started by setting up a mini photo studio in my living room (you will notice by now I have a very forgiving wife!) and started to snap comical scenes with each wedding guest.  Every scene was personal to that individual person.  Highlights include:

  • Arresting the Groom:  Father-in-law was setup to arrests me whilst my wife and mother-in-law looked on laughing.
  • Catching the Bouquet:  Yet to be married women attempting to catch my wife’s bouquets.
  • Hide the Sausage!  Two of my friends from school were set up to play hide the sausage… granted in this case I was just having fun!

You get the idea.  You can see all of these at the end of this blog post.

Once I had finished with all these photos, I added them to my table plan using the photo editing software Gimp (emphasis on the words photo editing).  Even the tables and miniature flowers on the plan were Lego! I finished the design off by using a Lego font across the by naming everyone on the plan.  You can learn how to do this by following this useful post by Persialou.

You can see the table plan, the flowers and other extras in my final post next month where the whole Lego wedding comes together.

Mark

Lego Vase Feature Image

Lego Rose & Thistle Vase Completion!

Lego Wedding

Now used to the Japanese working way of life of working late in the office every evening, I needed a way to unwind after a long day of work.  Why not replicate my perfected Lego Rose 68 times?! I got to the point where I could replicate the design within 5 minutes, and had a make shift assembly line setup on my apartments living room table.

Whilst I replicated the design, I went through various iterations of vase design.  I won’t bore you with each iteration, so feel free to jump to the completed vase design further down this post!  Key difficulty worth noting though was working out how to control the Lego Roses, without them continuously falling out (especially important when you have a room full of drunken guests!).  Using a netted inter-connecting Technic Plate design for strength, you can see the interior controlling mechanism below.

Lego Rose & Thistle Vase Complete!

After many months of rose designs and vase iterations, the Lego Rose Vases were complete! I built four unique vases in total, each with their own distinctive design.  Originally I had settled on 12 roses per vase, but it lacked oomph!  Adding an extra 5 to make it 17 filled in the gaps nicely.

Knowing that I was to be married to a Scotish bride, I added a small finishing touch by incorporating 4 Scottish Thistles.  Using a few Lego trees from my childhood collection and inverting an underwater bush on top worked well.  It did mean I had to add my second non Lego component to the design though as each thistle head had to be spray painted purple to fit the part.  Simple yet effective, this pulled the design together.  Now it was complete!

*Bonus Test Vase*

Whilst testing the design in my apartment in Japan, I took a few Lego Roses and experimental flowers.  Enjoy my final bonus vase! (includes Lego bee!)

Mark

Lego Rose feature image

Perfecting the Lego Rose for the Wedding

Lego Wedding

An English Rose for a wedding between an English groom and a Scottish bride… this was always going to go down well with her side of the border!  Over a six month period on and off and whilst moving to Japan part way through, I built four different variations of my Lego Rose.  The end result was an elegant Lego rose which was also somewhat and “wedding guest proof”.

It all started with this simple design, using a similar approach to the Lego Tulip. A little too small for my table centerpiece though… let’s make it bigger! I simply built upon the initial version by adding extra petals to give a three layered petal design with an interior centre twist.  The second iterations increased size worked, but felt overly ‘blocky’ (yes I know I was building with Lego). The new stem looked great though.

Lego Rose v3

How to make Lego look less ‘blocky’? I think my third iteration answers this question, with a slimmed down version with rounded petals. I achieved this by layering up basic slate bricks and combing them with trapezium slate bricks to add extra curves. Adding some small sloped tile bricks increased the effect.  These four petal cores were attached to an improved central block with a twisting centre.  Using the small tiles in the centre, I also found these really elegant curved bricks which I overlapped to pull the design together.  This design was a significant improvement on its predecessor!

Final Lego Rose Design (v4)

Elegance is all well and good, yet when it can’t stand up by itself it is beyond useless for a wedding!  The final Lego Rose was a minor tweak on its predecessor, with the aim to add strength.

I found some old plastic tubes which I think were part of a Lego submarine I got in Torquay as a child and inserted one within the stem of the rose. This added the much needed rigidity to the stem. I managed to find a suitable set of similar plastic tubes from Joshin across the road from my apartment in Kobe, Japan.  To get the rose head to connect to the stem I had to tweak the inside of the rose base a little for the tube to sit inside.  A little elegance was lost in the base of the flower, but this was quickly resolved with a larger green cylinder.

Other updates to the design included minor tweaks to the petals for simplicity and strength. There were a few drop tests involved and was surprisingly sturdy!

Happy with the design it was time to replicate and build 68 of my Lego Roses and design 4 vases!  You can read about this in my next blog post. Let me know your thoughts and comments on my final Lego Rose design.

Mark