

I have been lucky enough to have travelled around the world on business and for pleasure. I have photos, magnets and a world travel map of the places I have visited around the house. The travel map above our bed was great until it fell off the wall onto my wife’s head whilst we slept one night! Faded, crumpled and now on the floor, I decided to build a new travel map out of Lego!
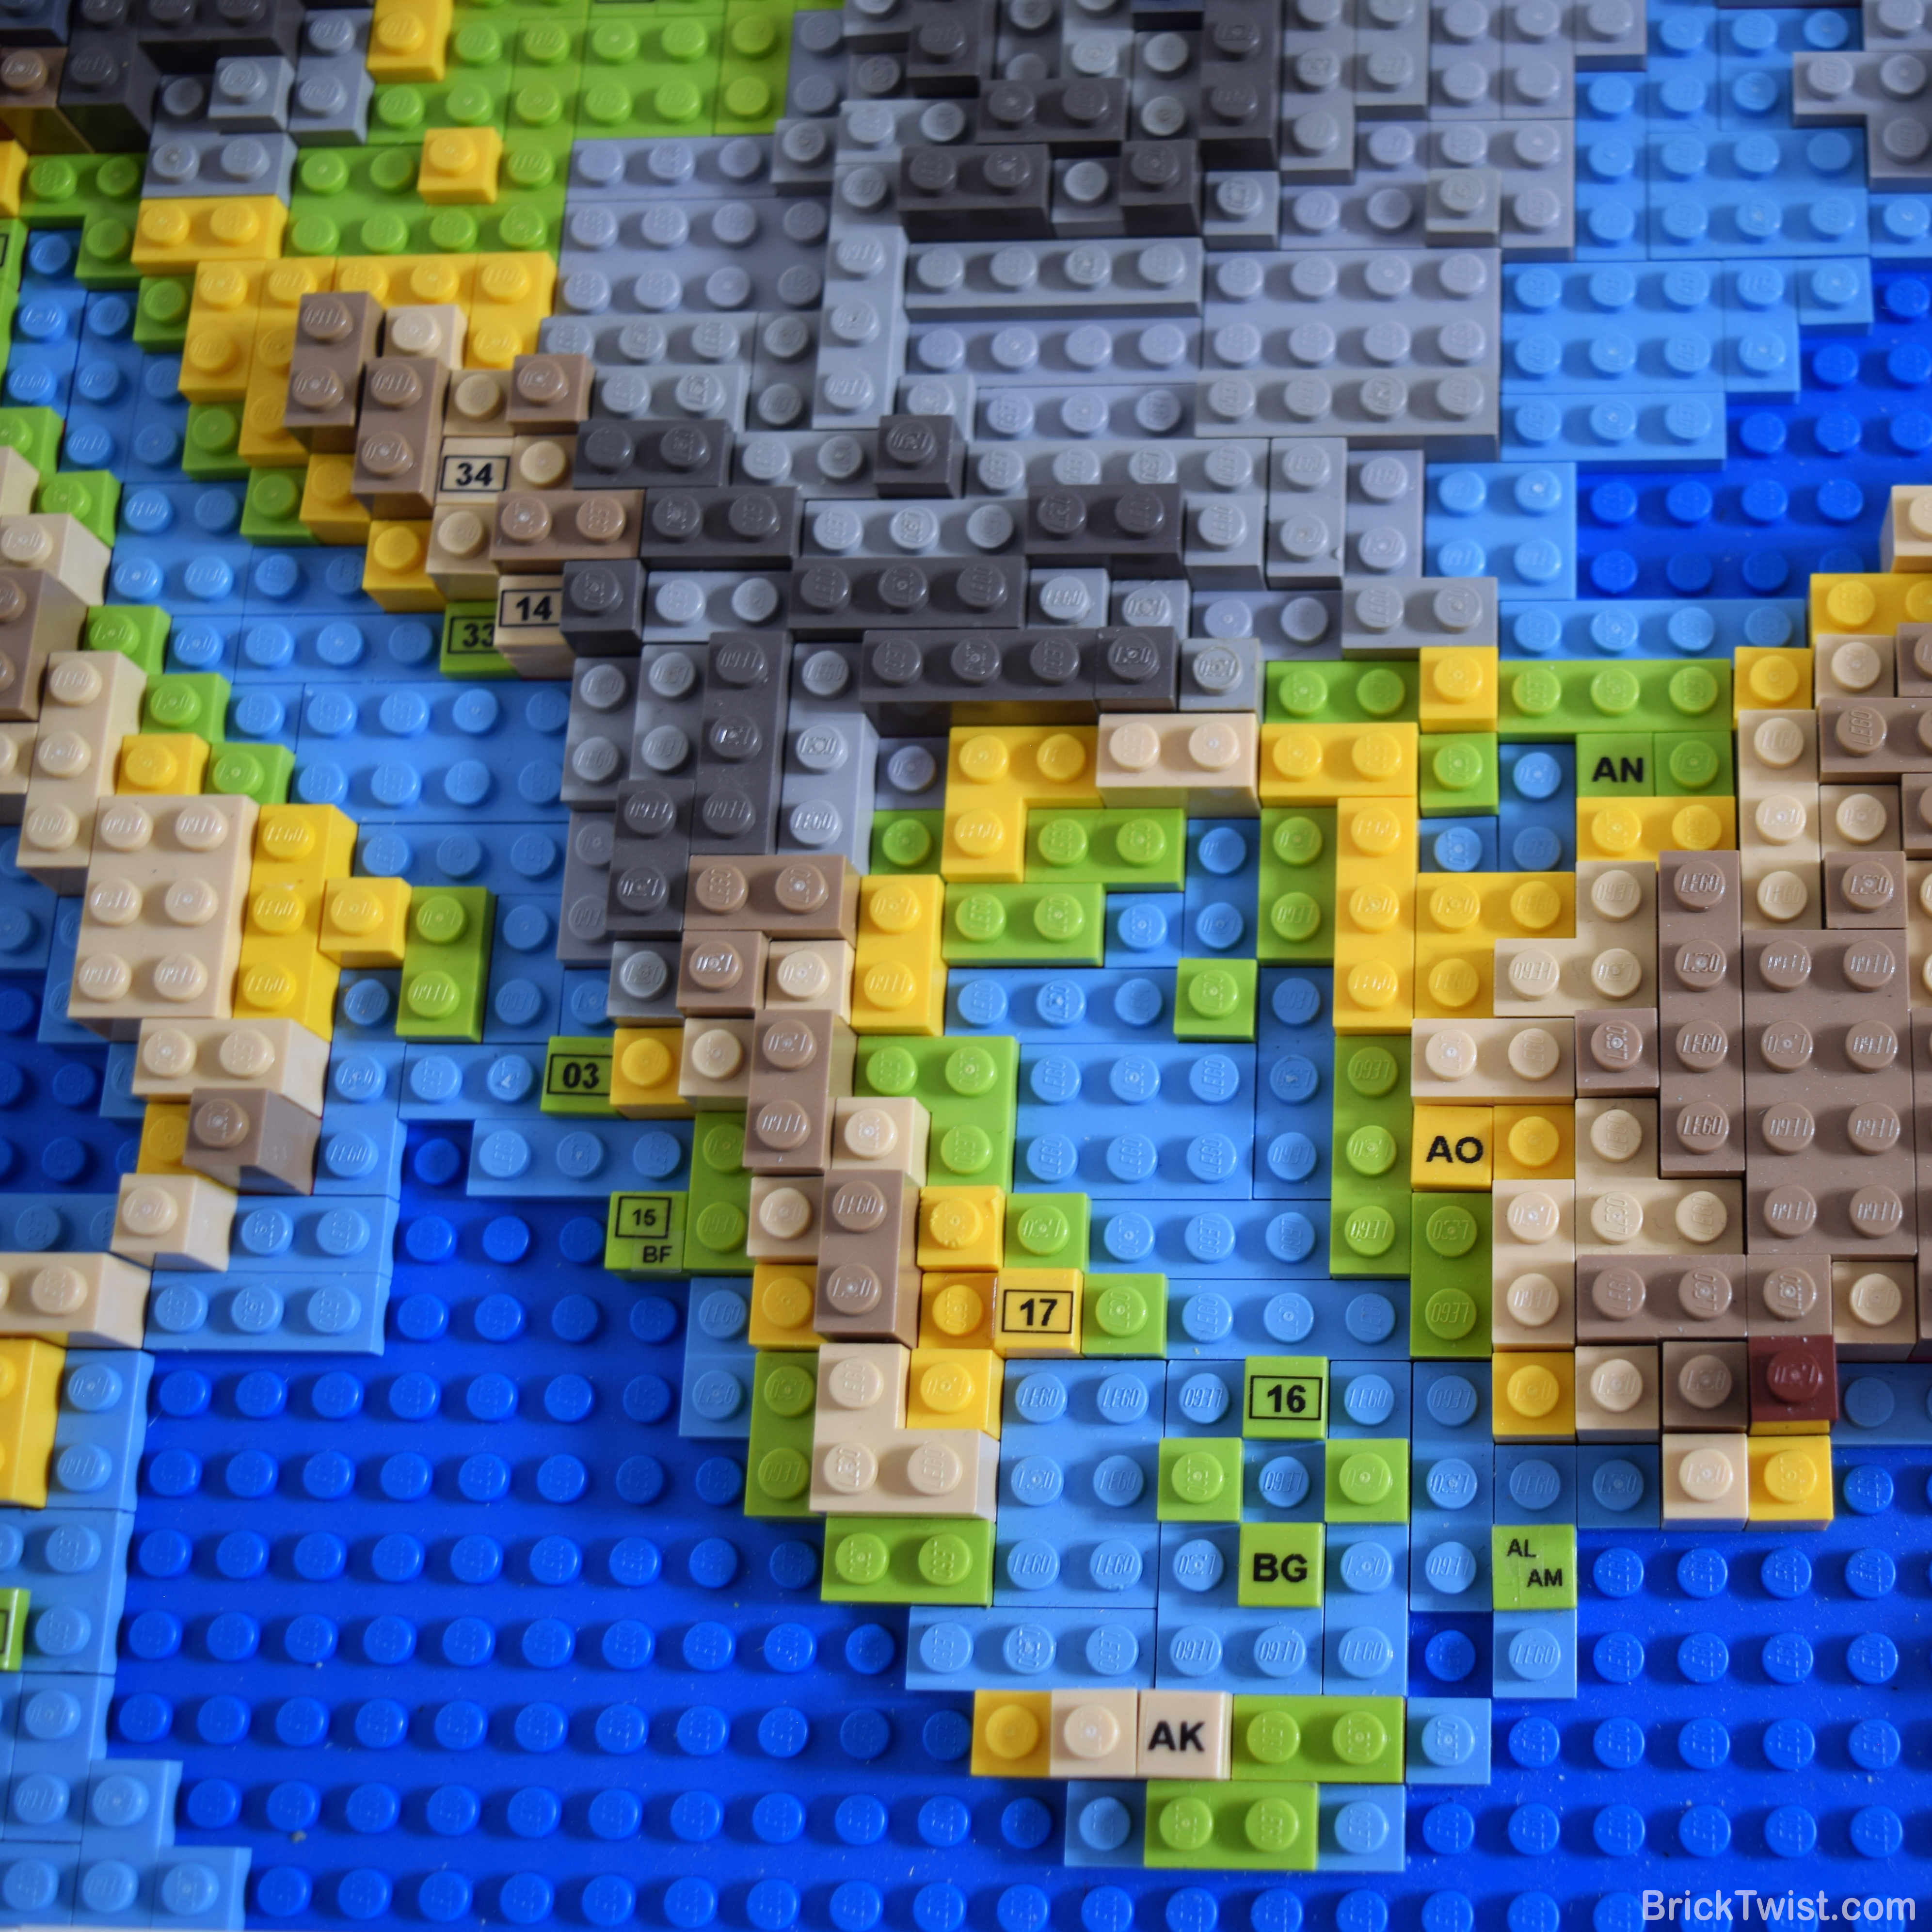
Introducing my Lego Map of Europe! The map uses coloured Lego bricks to highlight the countries my wife and I have visited. I used grey bricks to illustrate the countries we were yet to explore. A key documents terrain elevation in metres and feet, from the sea floor to the tallest mountain. The map measures at 65 x 65 cm (82 x 82 studs) and it’s tallest point (the Alps) is 2.4 cm tall. It’s my biggest build since my Lego wedding, at an estimated total of 5000 Lego bricks used!


Making the map personal and unique to my wife and I was important, so wanted to go a step further. When we visit a new city or town, I include a two letter/ numerical code (e.g. 00/ XX) to it’s location on the map. The code then links to a flag, country and city/ town name on the maps frame. The codes are categorised to a visit by me (Mark), my wife (Lynn) or both of us as illustrated by the image below.
Whilst travelling is fun, home is also important. I used a flag symbol to highlight our home in the UK. I also decided not to document every city we have visited in the UK, otherwise this build would never have finished 🙂


As the top of the African continent was going to be visible, Morocco and Tunisia were also included. l will be adding additional countries from outside of Europe in the coming months. Europe is the first part of my large Lego map puzzle! More details on that at the end of this post.
Visiting a Country with Lego Bricks
Why scratch off a country when visited (like most travel maps), when you can build the country out of Lego instead!

Illustrated by the small video above, updating the map with a new country requires the completion of simple four steps:
- Remove Grey Bricks: remove all the grey bricks for new country
- Add Colour Bricks: add coloured bricks to match the elevation of the country
- Add Code Tile: add a 1 x 1 tile with printed code for visited city/ town in the correct location on the map.
- Update Frame: update the frame with the country name, flag and city/ town name with it’s associated code
Designing & Building Lego Europe
Building a map of Europe out of Lego took a lot longer than I had initially expected. After a lot of evenings, weekends and many orders from bricklink.com, I hung my completed map on the wall of my office. I have summarised the steps I took to designing and building my map below:


1. Digital Relief Map:Using a relief map I purchased from Shutterstock, I imported it within Inkscape (a vector image editor) and resized it. I then applied an 82 x 82 grid over map, where one square would equal a 1 x 1 Lego brick.
2. Pixelating the Digital Map: Using the Lego colour palette (https://brickset.com/colours) I painted each square with my chosen colours matching the relief of the map. I then exported the map to my iPad and marked up the different types of bricks I would need for the build.
3. Building the Lego Map: Once the map was pixelated into Lego form, I got down to building! I created the foundations of Europe with a lot of left over red plates from my Lego wedding build. Coloured and grey plates/ bricks were then added on top, as instructed by my pixelated map. Many BrickLink (https://bricklink.com) orders later, and my Lego map of Europe started to take shape!


4. Country, City/ Town and Elevation Key: Initially I was going to build my own flags out of Lego, but found I couldn’t get enough detail at the size I wanted them. Luckily I found this great sticker book: Flags of the World: Ultimate Sticker Book. The flag stickers were the perfect size for a 2 x 3 white tiles which made up the frame which I built to surround the map. A Dymo label maker was used to create the labels for the country, city/ town names which I attached to tiles on the map, frame or key.
5. Wooden Frame & Hanging: Using gorilla glue, I glued the map securely to a 5mm plywood board and attached wall fittings to the back. A few nails in the wall and my European Lego travel map build was complete!
Building the Rest of the World in Lego…
Originally the lego map included a dedicated section on the left for all the other countries my wife and I had visited outside of Europe. After three different iterations, I concluded that this section just didn’t look right so decided to remove it.
Instead I will be building new dedicated maps for: North America, Japan/ South Korea, China and a few other countries… These will be added to the wall of my office in the coming weeks and months!

I hope you like my European Lego Map. Let me know your thoughts, comments and questions. Mark!